
How to Reseal and Stain a Log Cabin (With Before & After Photos)
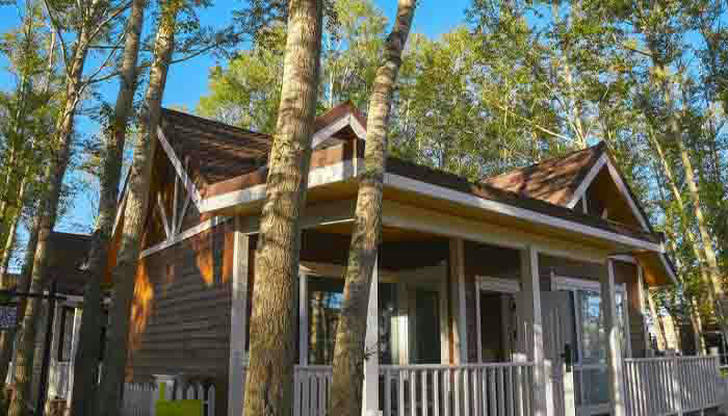
A log cabin is more than just a cozy retreat—it's an investment that needs proper care to stand strong against the elements. Over time, wind, rain, and sun can wear down your wood's finish, leading to cracks, moisture damage, and even insect infestations. One of the best ways to protect your cabin and keep it looking beautiful? Resealing and staining it regularly.
In this guide, we'll walk you through the entire process—from inspection to the final coat—and show how a little maintenance can go a long way. Whether it's your first time or you just need a refresher, these practical steps will help ensure your cabin stays protected and polished.
1. Why Resealing and Staining Matters
Log homes are constantly exposed to sun, rain, snow, and fluctuating temperatures. Without a quality seal and stain, your cabin's logs can absorb moisture, leading to:
- Rot and mildew
- Wood splitting and cracking
- UV damage and fading
- Insect and pest problems
Regular sealing and staining (typically every 3–5 years, depending on your climate and stain type) creates a barrier against these threats while enhancing your cabin's natural beauty.
2. Step-by-Step Guide
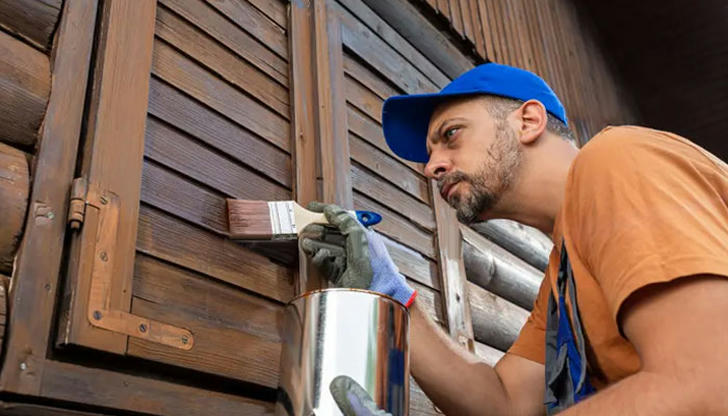
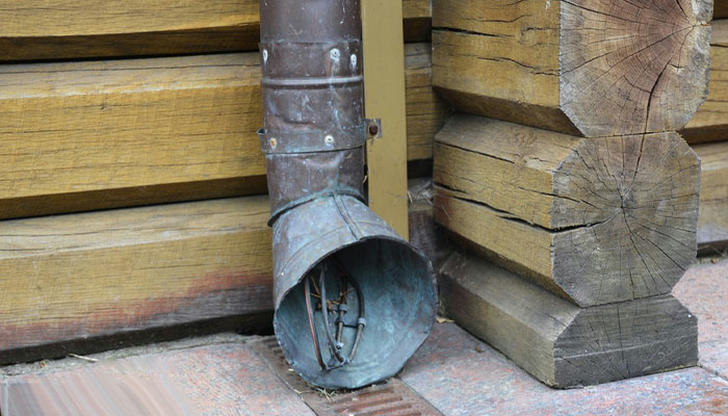
a) Step 1: Inspect and Clean the Logs

Before & After Tip: Snap a photo before you start for a side-by-side comparison later. You'll be amazed at the difference!
Start by walking around your cabin and inspecting the logs. Look for:
- Discoloration or faded stain
- Peeling or flaking areas
- Hairline cracks or dark patches (potential moisture damage)
Next, give the exterior a thorough cleaning. You can use:
- A log wash solution (or mild soap and water)
- A soft-bristle brush or pressure washer (on low setting)
- Let it dry completely—this may take 2–3 days depending on the weather
Pro Tip: Never stain or seal damp wood. Moisture trapped under stain can lead to blistering or peeling.
b) Step 2: Sand or Strip Old Finish (If Needed)

If your previous stain is peeling or uneven, consider sanding or stripping it off:
- Use 60–80 grit sandpaper for smoothing rough or flaky spots
- For larger jobs, a chemical stain stripper can help remove old finish
- Always follow up with a light cleaning and drying phase
This step ensures your new stain can absorb evenly into the wood.
c) Step 3: Apply Wood Preservative (Optional but Recommended)
This step is especially useful if your logs are older or exposed to harsh climates.
- Apply a borate-based wood preservative to protect against mold, mildew, and wood-boring insects
- Let it dry for at least 24–48 hours before staining
It's a small extra step that can add years to your log cabin's lifespan.
d) Step 4: Choose the Right Stain and Sealant
There are three main types of log home stains:
| Type | Look | Durability | Best For |
|---|---|---|---|
| Oil-based | Rich, natural tones | High | Older cabins, deep grain |
| Water-based | Low odor, dries faster | Moderate | Newer cabins, easy cleanup |
| Hybrid formulas | Balanced performance | High | All-around use |
Pick a stain that includes UV inhibitors and is designed for exterior log homes. Some products also combine stain and sealant in one step—perfect for busy homeowners.
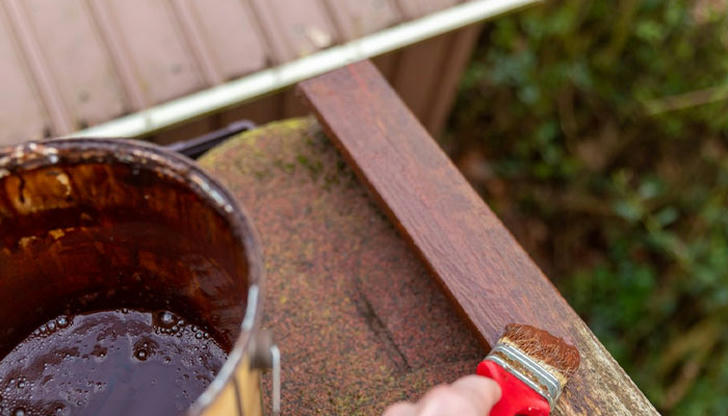
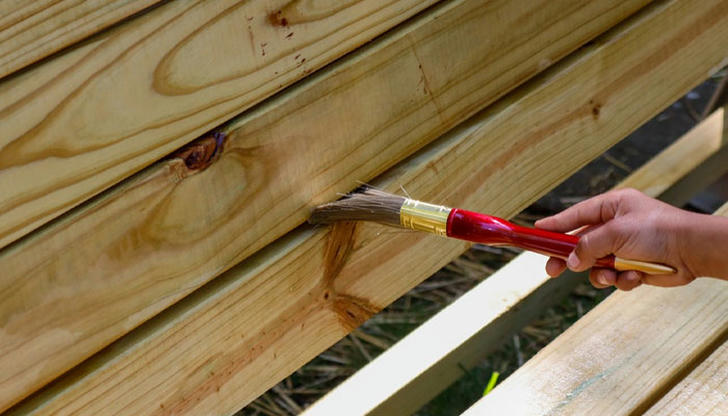
e) Step 5: Stain the Logs
Now the fun begins! Grab your brush or sprayer and follow these tips:
- Work in small sections (4–6 feet at a time)
- Apply stain with the grain
- Use a back-brushing technique to push stain into cracks and textures
- Apply two thin coats rather than one thick one
Let the first coat dry (usually 4–24 hours depending on the product) before applying the second.
Before & After Moment: After the first coat dries, take another photo—you'll already see the richness returning to your logs.
3. Final Thoughts
Resealing and staining your log cabin might seem like a big task, but it's entirely doable—even for beginners. The key is to plan for dry weather, take your time with each step, and choose quality products that are made for log homes.
With just a few days of work every few years, you can keep your cabin strong, beautiful, and protected for decades to come.
Tip: Want more hands-on help? Many stain manufacturers offer online tutorials, color visualizers, and product calculators to get you started right.